Transform yarn into a cuddly hippo with this unique pattern! Perfect for gifting, it’s cute, easy, and makes a lovable handmade creation.
Unique Hippo Crochet Pattern
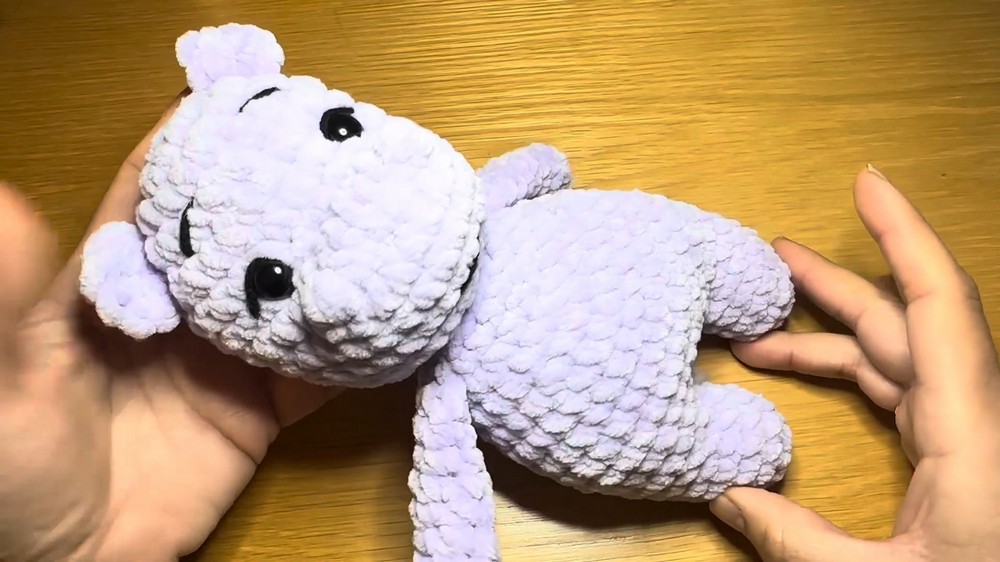
Hippos are hefty in real life, but why not have a crocheted one that's delightfully tiny and cuddly? This unique hippo crochet pattern is perfect for creating a charming gift that's both heartfelt and handmade. It’s not just cute; it’s a fantastic project for both beginners and seasoned crocheters. The simple stitching guides you through making a huggable toy that's perfect for kids, desk decorations, or just a fun addition to your cozy corner. Get into a cute and crafty adventure today!

Uses Of Crochet Hippo:
- Decorative Item: The crocheted hippo can be used as a decorative piece in nurseries, kids' rooms, or living spaces to add a handmade touch.
- Gift: Handmade gifts often carry a special sentiment. A crocheted hippo can be a thoughtful and personalized gift for friends and family, especially those who appreciate crafts.
- Toy: With the appropriate safety features, such as securely attached eyes and no small parts that can be detached, the hippo can serve as a soft toy for children.
- Display for Skills: Crafters can use the hippo as a display item to showcase their crochet skills, whether in a craft fair, online shop, or as part of a portfolio.
- Teaching Tool: This tutorial can be used by craft instructors to teach techniques such as working in the round, increasing, and decreasing stitches.
How To Crochet Hippo Amigurumi
Materials Needed
- Plush yarn in the color of your choice
- 5.5 mm crochet hook
- Pair of scissors
- 10 mm safety eyes
- Stitch marker
- Darning needle
- Fiberfill (stuffing)
- Small amounts of black and white standard double-knit yarn for details
Step by step Pattern
Part 1: Head
1. Starting the Head
- Create a slip knot and chain 2.
- Round 1: Skip the first chain and make 8 single crochets (sc) into the second chain.
- Pull the yarn tail tightly to close the gap.
- Round 2: Insert your hook into the first stitch from Round 1 and work:
- 1 sc, place stitch marker in the first stitch.
- Work 8 increases (2 sc in each stitch) around.
- End Stitch Count: 16 stitches.
2. Increasing the Head's Width
- Round 3: 1 sc, place stitch marker.
- Work 1 sc followed by 1 increase (2 sc in one stitch). Repeat this sequence around.
- End Stitch Count: 24 stitches.
- Rounds 4-6: Work 1 sc in each stitch (no increases).
- End Stitch Count: 24 stitches.

- End Stitch Count: 24 stitches.
3. Creating the Nose
- Chain 1, turn the work, and make 4 increases (2 sc in 1 stitch) starting from the very first stitch.
- Chain 1 again, turn your work, and work 8 sc across the row.
- Work 1 sc down the side of the flap you've created, followed by 1 sc in every stitch around.
- End Stitch Count: 30 stitches.
- Round 7-9: Work 1 sc in each stitch around without increases.
- End Stitch Count: 30 stitches.
4. Adding Safety Eyes
- Insert the eyes between the 2nd and 3rd rounds above the nose:
- Keep 4-5 stitches between the eyes.
- Attach the safety backings to secure the eyes.

5. Shaping the Head
- Round 10: Work 3 sc, followed by 1 decrease. Repeat around.
- End Stitch Count: 24 stitches.
- Round 11: Work 12 decreases around.
- End Stitch Count: 12 stitches.
- Fasten off by working a slip stitch, cut the yarn leaving a long tail, and pull out of the stitch.
- Fill the head with fiberfill.
Part 2: Arms
1. Starting Each Arm
- Create a slip knot and chain 2.
- Round 1: Skip the first chain and make 6 sc into the second chain.
- Rounds 2-7: Work 1 sc in each stitch around.
- End Stitch Count: 6 stitches.
- At the end of Round 7, flatten the top of the arm and work 3 sc across (through both layers).
- Chain 1, cut the yarn, pull out, and secure.
- Make two arms using the same instructions.
Part 3: Legs
1. Starting Each Leg
- Create a slip knot and chain 2.
- Round 1: Skip the first chain and make 6 sc into the second chain.
- Round 2: Work 6 increases (2 sc in each stitch).
- End Stitch Count: 12 stitches.
- Rounds 3-6: Work 1 sc in each stitch around.
- End Stitch Count: 12 stitches.
- Finish one leg, but keep the yarn attached on the second leg for joining.
Part 4: Body
1. Joining the Legs
- On the second leg, chain 2, and join it to the first leg using a slip stitch.
- Round 1:
- Work 10 sc around the first leg.
- Make 2 increases on the first leg.
- Work 2 increases in the chain-2 space.
- Work 2 increases on the second leg.
- Work 10 sc around the second leg.
- Make 2 sc in the chain-2 space (on this side).
- End Stitch Count: 34 stitches.
2. Shaping the Body
- Rounds 2-5: Work 1 sc in each stitch around.
- End Stitch Count: 34 stitches.
- Round 6: Work 15 sc followed by 1 decrease. Repeat once.
- End Stitch Count: 32 stitches.
 Rounds 7-8: Work 1 sc in each stitch around.
- End Stitch Count: 32 stitches.
- Round 9: Work 2 sc followed by 1 decrease. Repeat around.
- End Stitch Count: 24 stitches.
- Round 10: Work 1 sc in each stitch around.
- End Stitch Count: 24 stitches.
- Round 11: Work 2 sc followed by 1 decrease.
- End Stitch Count: 18 stitches.
3. Attaching the Arms
- Round 12: Work 3 sc, place the first arm at the top of the stitches, and work 3 sc across the arm and body to attach it.
- Work 7 sc, attach the second arm the same way (3 sc across).
- Work 2 sc to finish the round.
- End Stitch Count: 18 stitches.
4. Final Shaping
- Round 13: Work 1 sc followed by 1 decrease. Repeat around.
- End Stitch Count: 12 stitches.
- Fasten off, leaving a long tail.

Part 5: Ears
- Create a slip knot and chain 2.
- Round 1: Skip the first chain and make 8 sc into the second chain.
- Work a slip stitch into the first stitch of the round.
- Cut the yarn, leaving a long tail, pull out, and secure.
- Make two ears and sew them onto the head, positioning them between Round 3 and Round 4.
Part 6: Tail
- At the center back of the body, insert the hook and chain 5.
- Fasten off and thread the end through the chain to secure.

Part 7: Embellishments
1. Nostrils
- Use purple yarn with a darning needle to make two nostrils just below the eyes.
2. Mouth
- Use black yarn to embroider a small smile three rounds below the nostrils.
3. Eyes
- Use black and white yarn for eyebrows or eye details as desired.
Final Step
- Stuff the body tightly and sew the head to the body securely using a darning needle.
- Smooth out the project by distributing fiberfill evenly.
Enjoy your adorable crocheted hippo!


Leave a Reply